Recycled Material Greenhouse Shelf 1
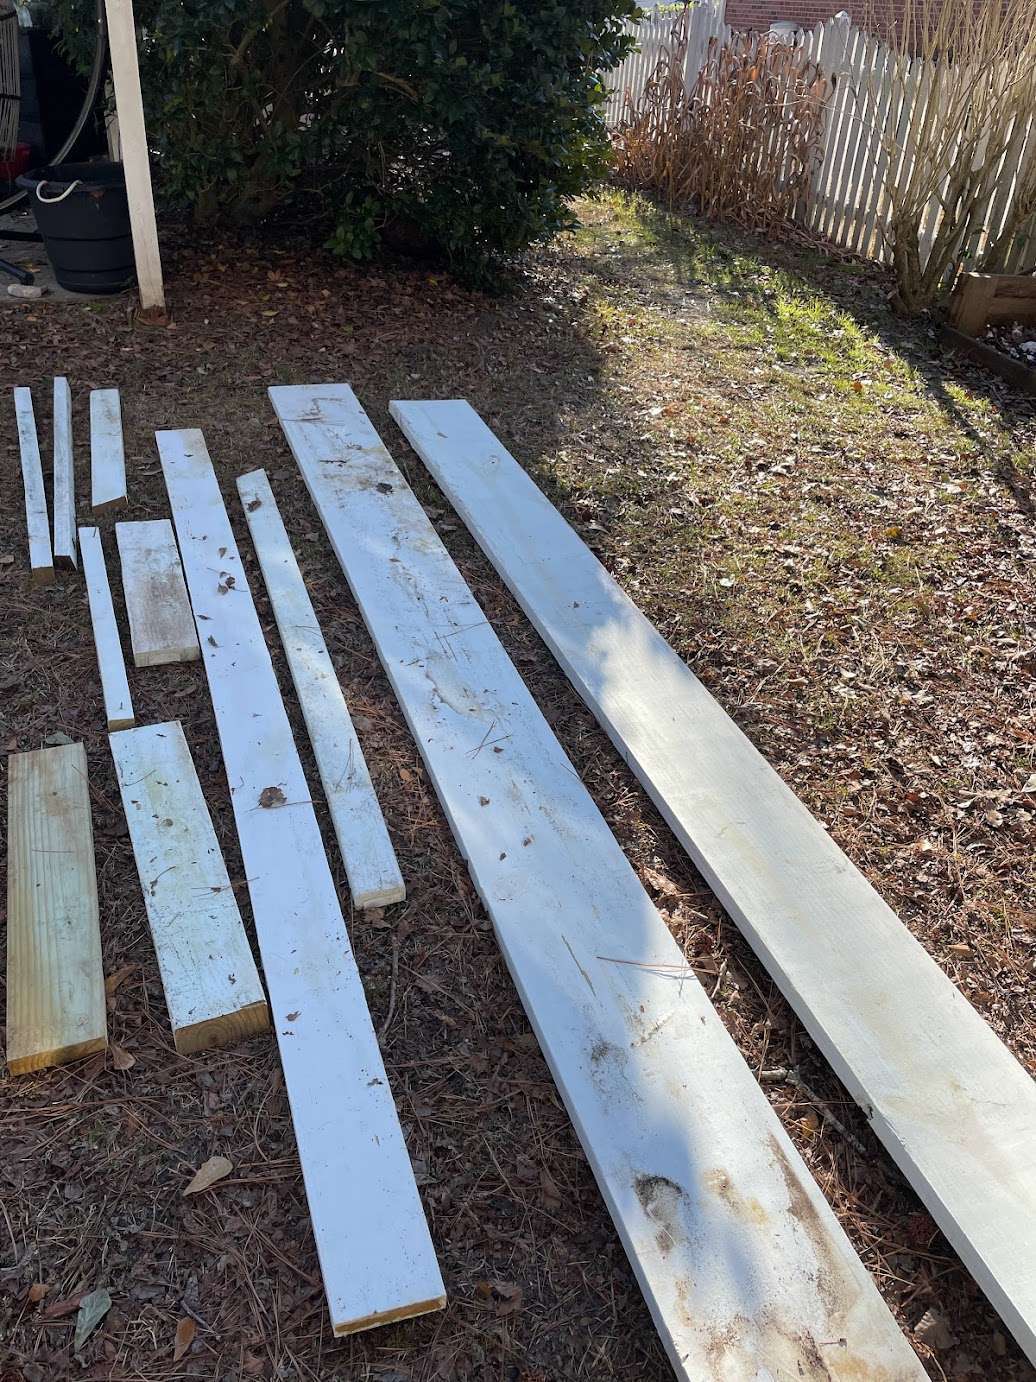
The project for today is to utilize recycled materials to build our first shelf in the greenhouse. The greenhouse is made mostly of recycled materials collected over a long period of time (what seems like forever!). Keeping our eyes open to what’s on the marketplace, neighborhood curbs, garage sales, and the re-store have provided for large projects in our yard, like this full greenhouse. It can also help with our task today of building a recycled wood shelf, inside. The materials we have for today’s project are leftovers from a neighbors covered porch project, which we decided would work perfectly.
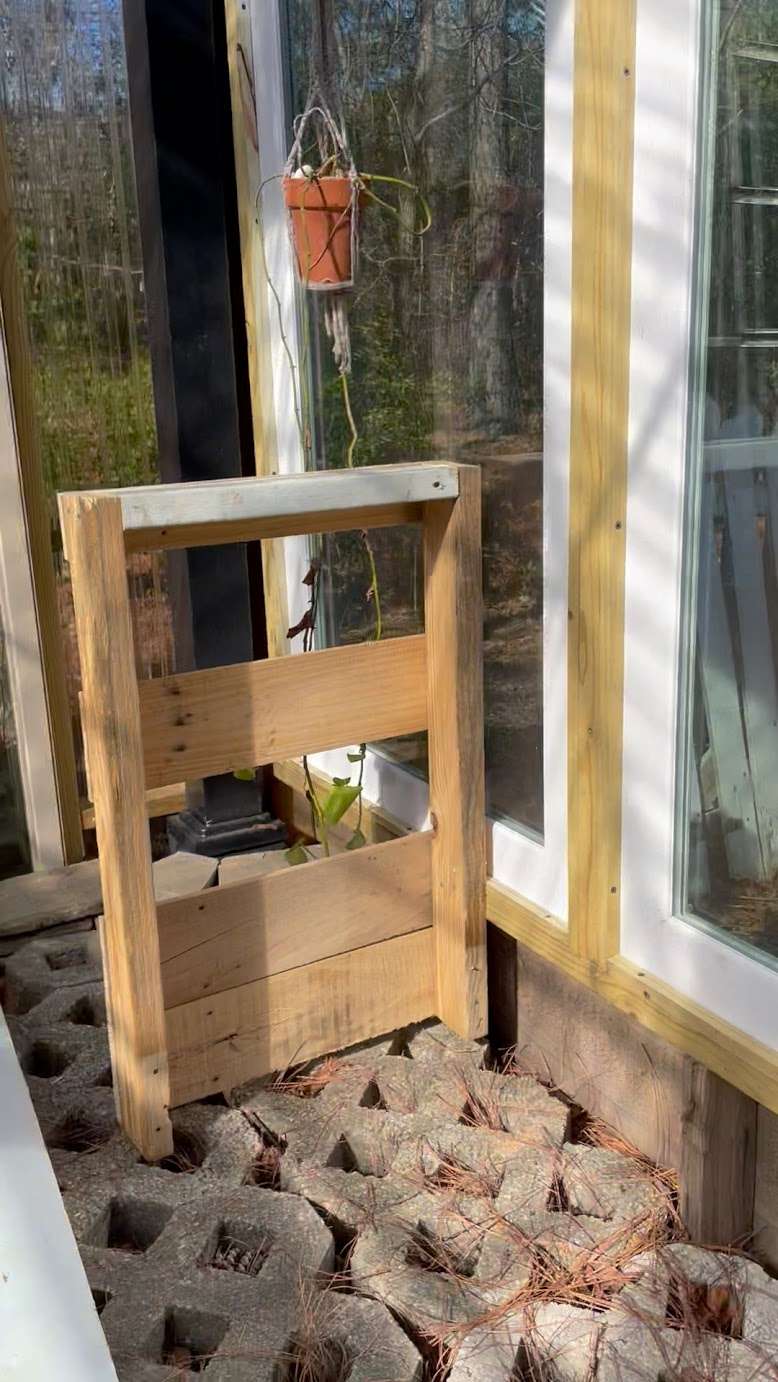
We didn’t have enough recycled material to build the shelf in full. We needed some shelf stands for it, and it seemed a pallet (with some modifications) would do the trick. I went out to find the perfect pallet and there it was behind a Sherwin Williams paint center less than a mile from our home! I made some cuts to adjust for the height and size we needed in the greenhouse. I felt like 34″ high would be an excellent height to stand and work on potting or seeding plants, etc. Perfect height for Mel and any future greenhouse user.
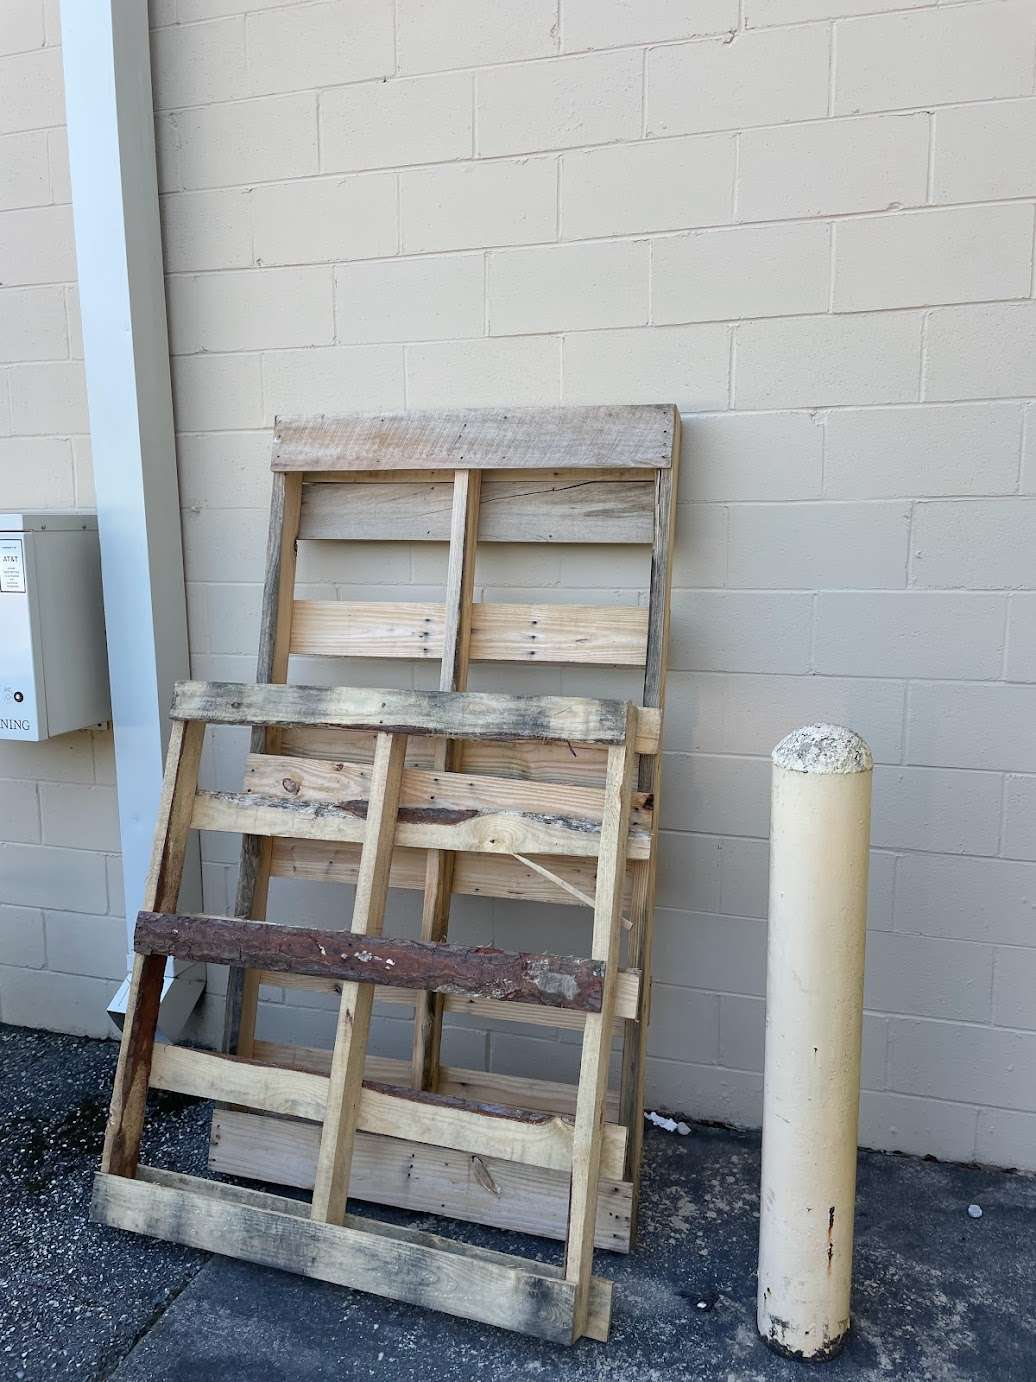
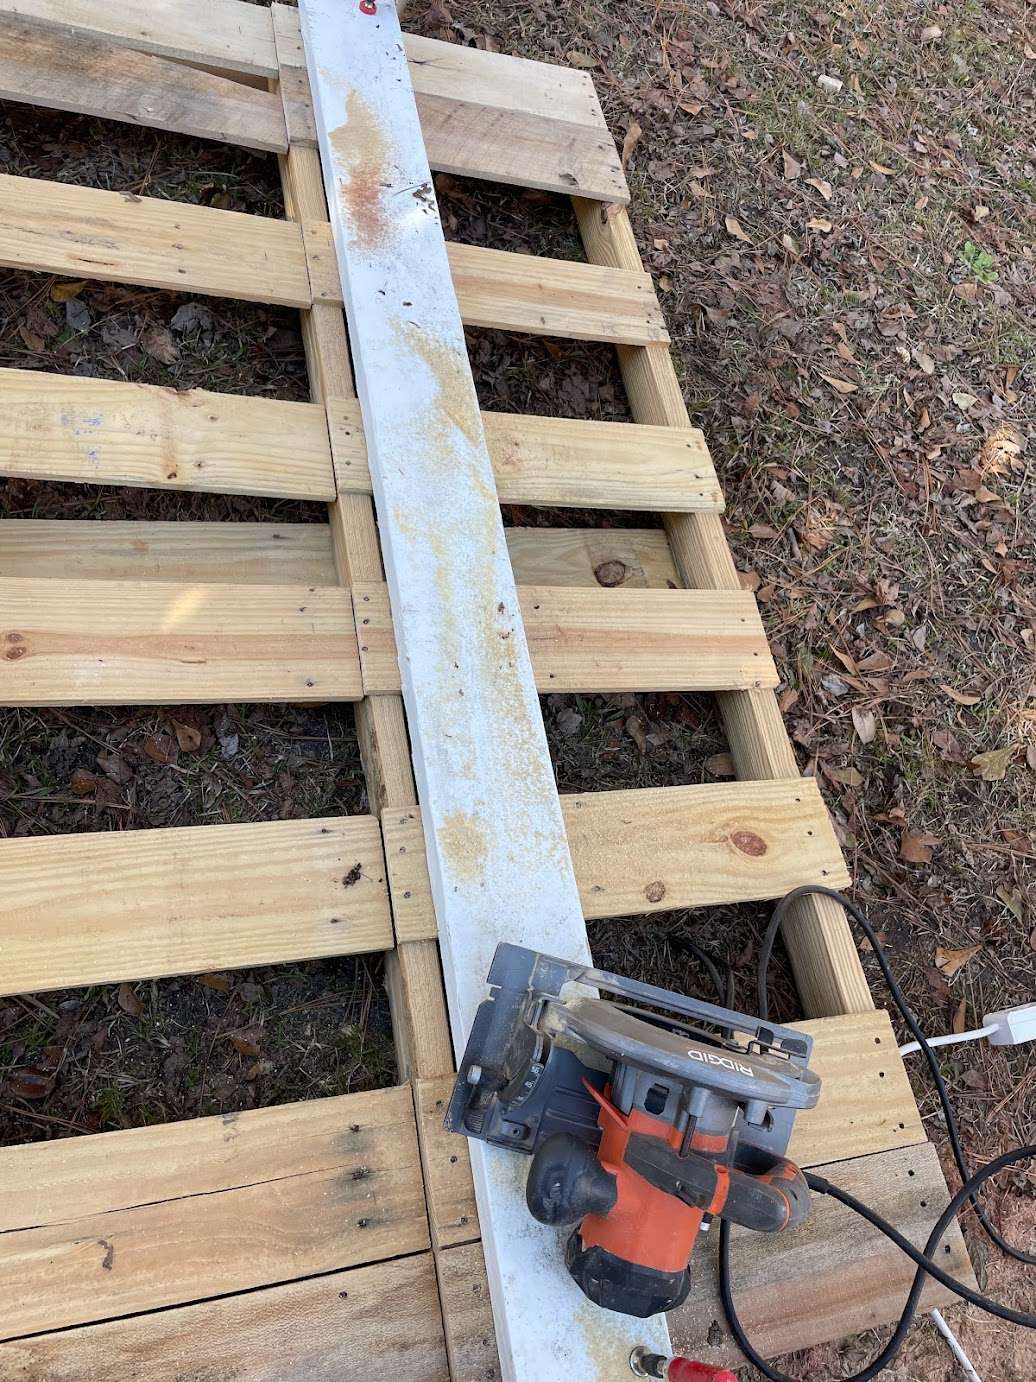
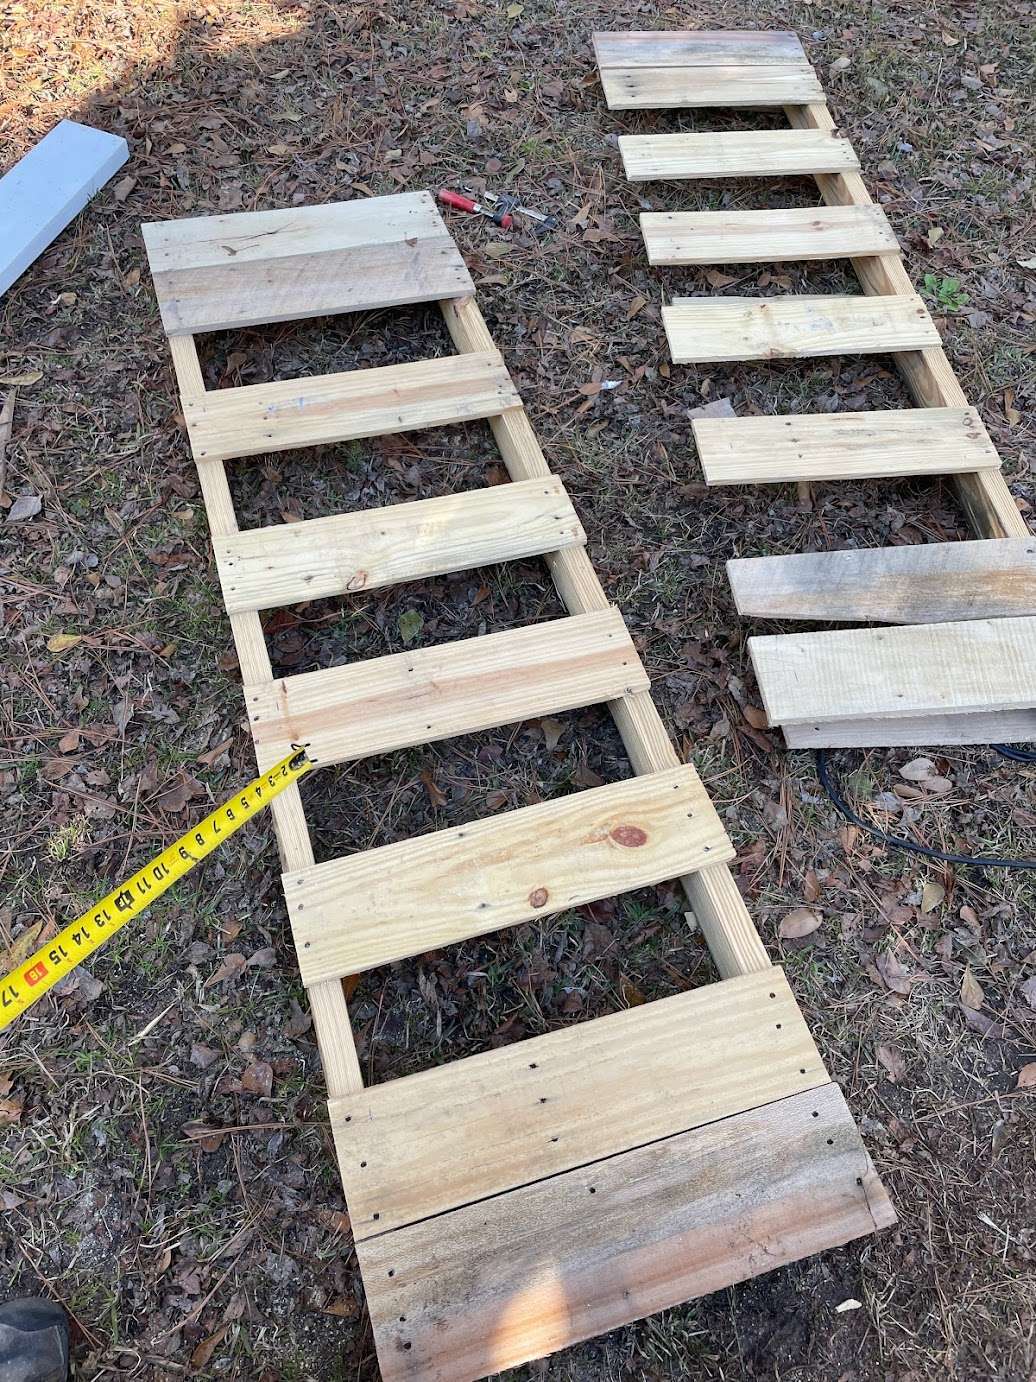
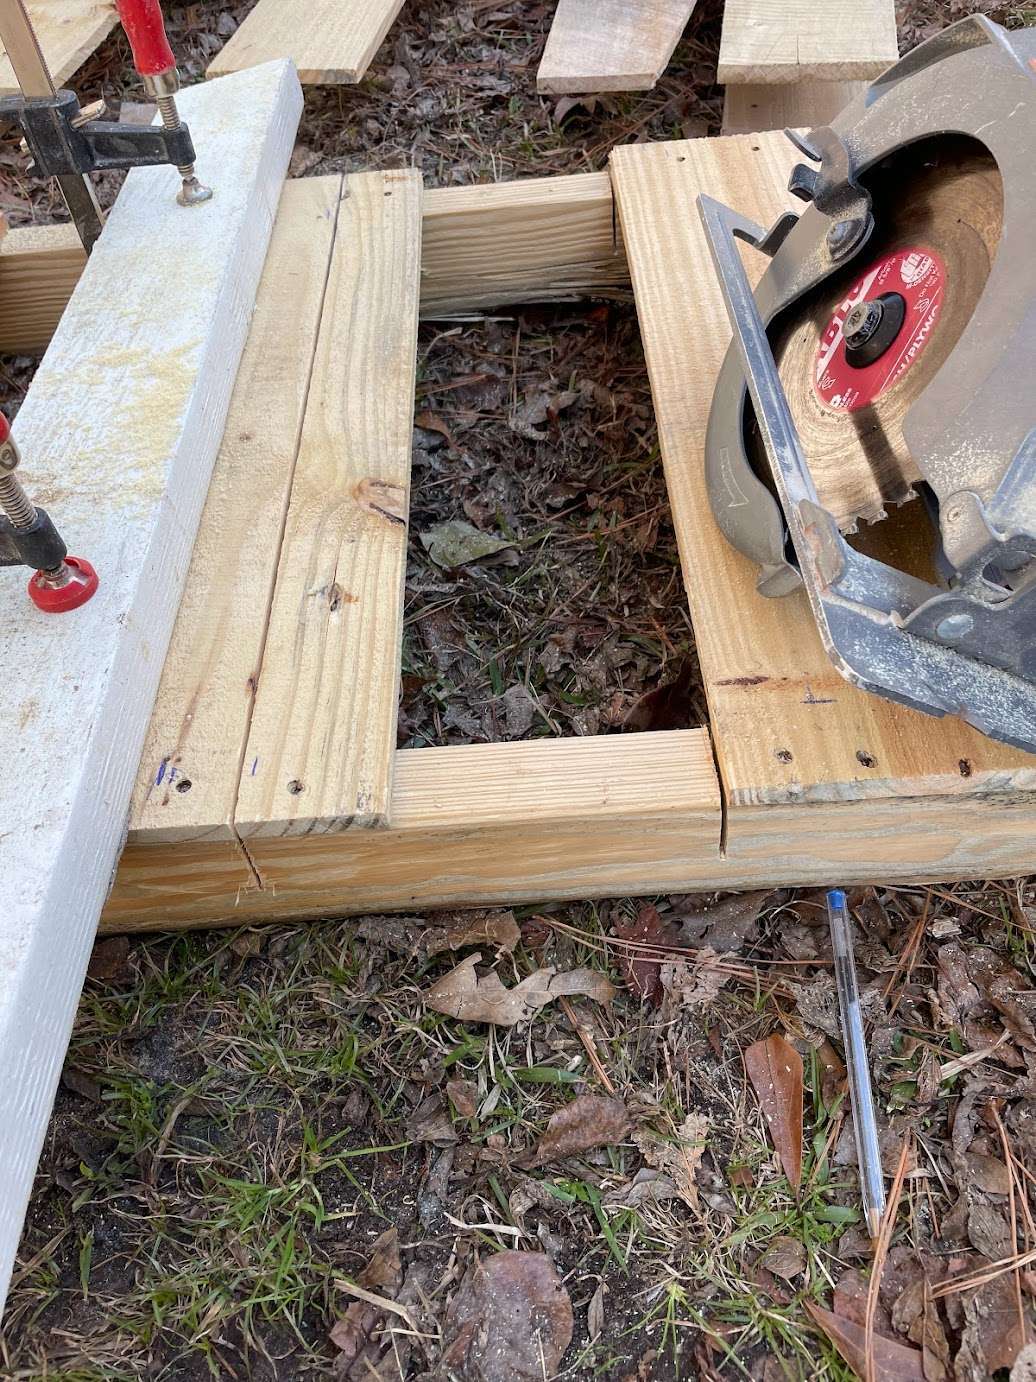
I ran into a small cutting challenge, where the circular saw wouldn’t cut all the way through the thickness of the pallet. Not a big issue, but I use pallets a lot and always have to flip them over for the final cut! I was able to work out the dimensions for the depth of shelf based on the recycled 2″x12″x10′ (2 inches thick, 12 inches wide, 10 feet long) boards we had available. I would use two of them side by side with a small gap between for drainage (great idea, on Mels part!) when we are watering plants or preparing soil for seedlings, etc.
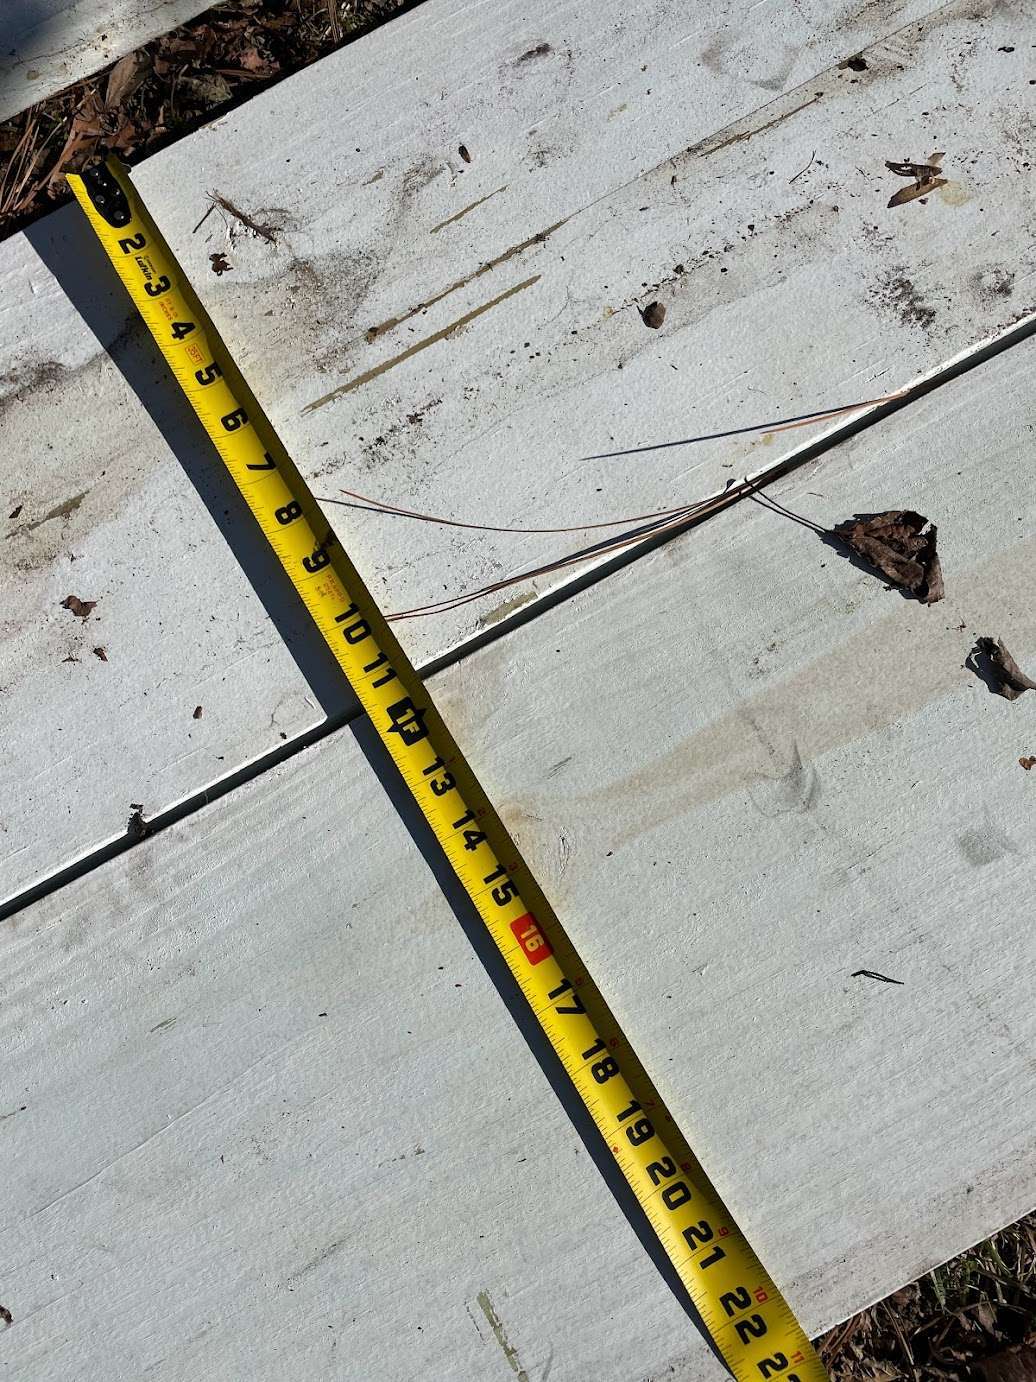
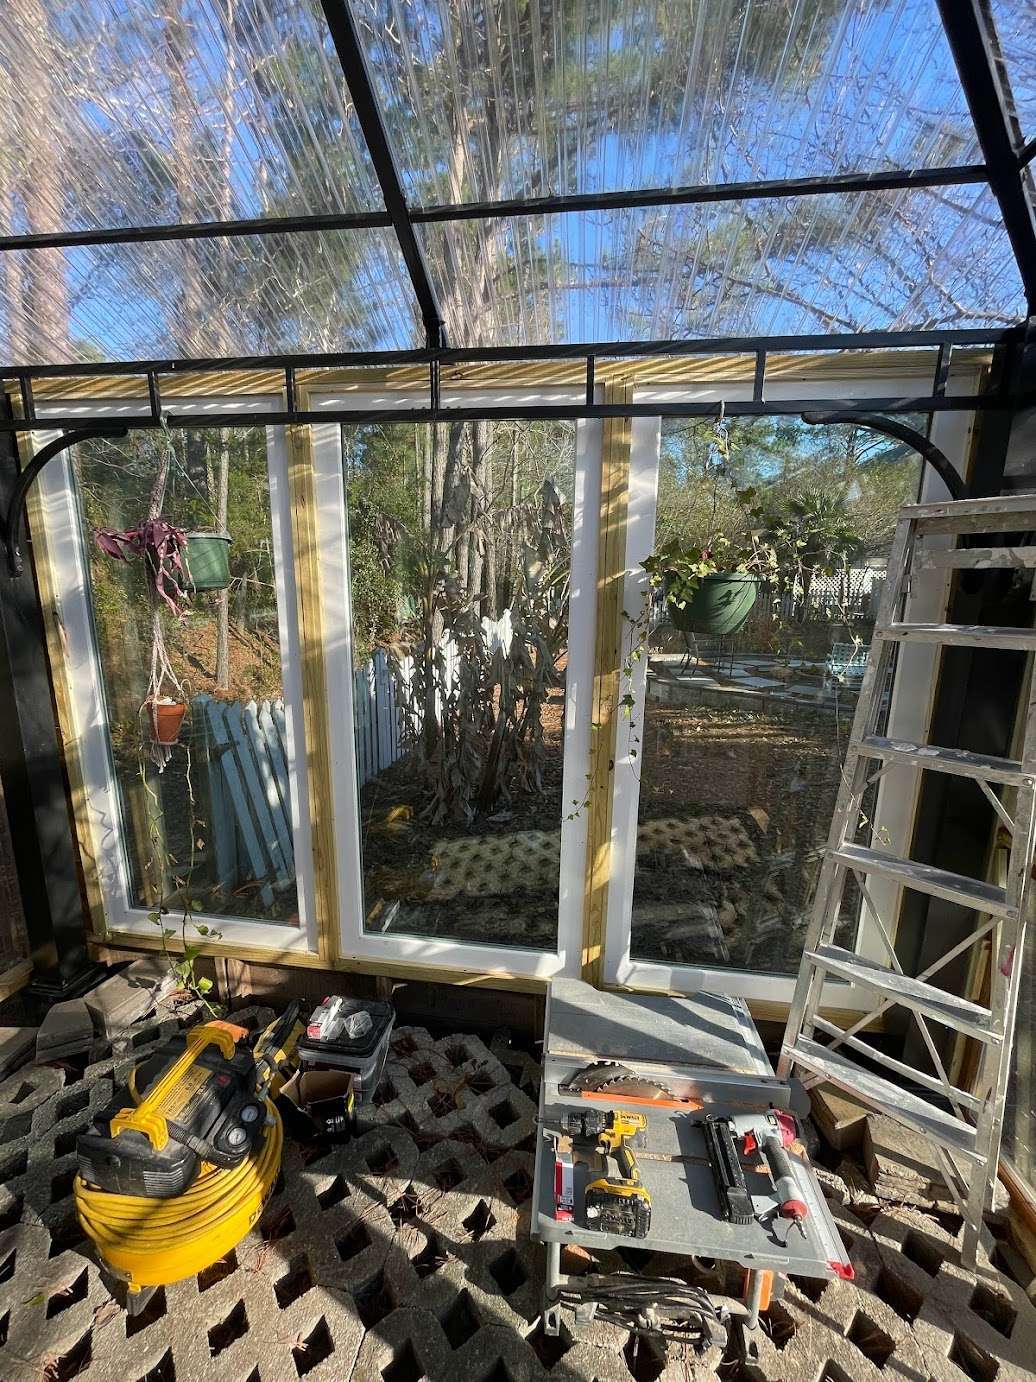
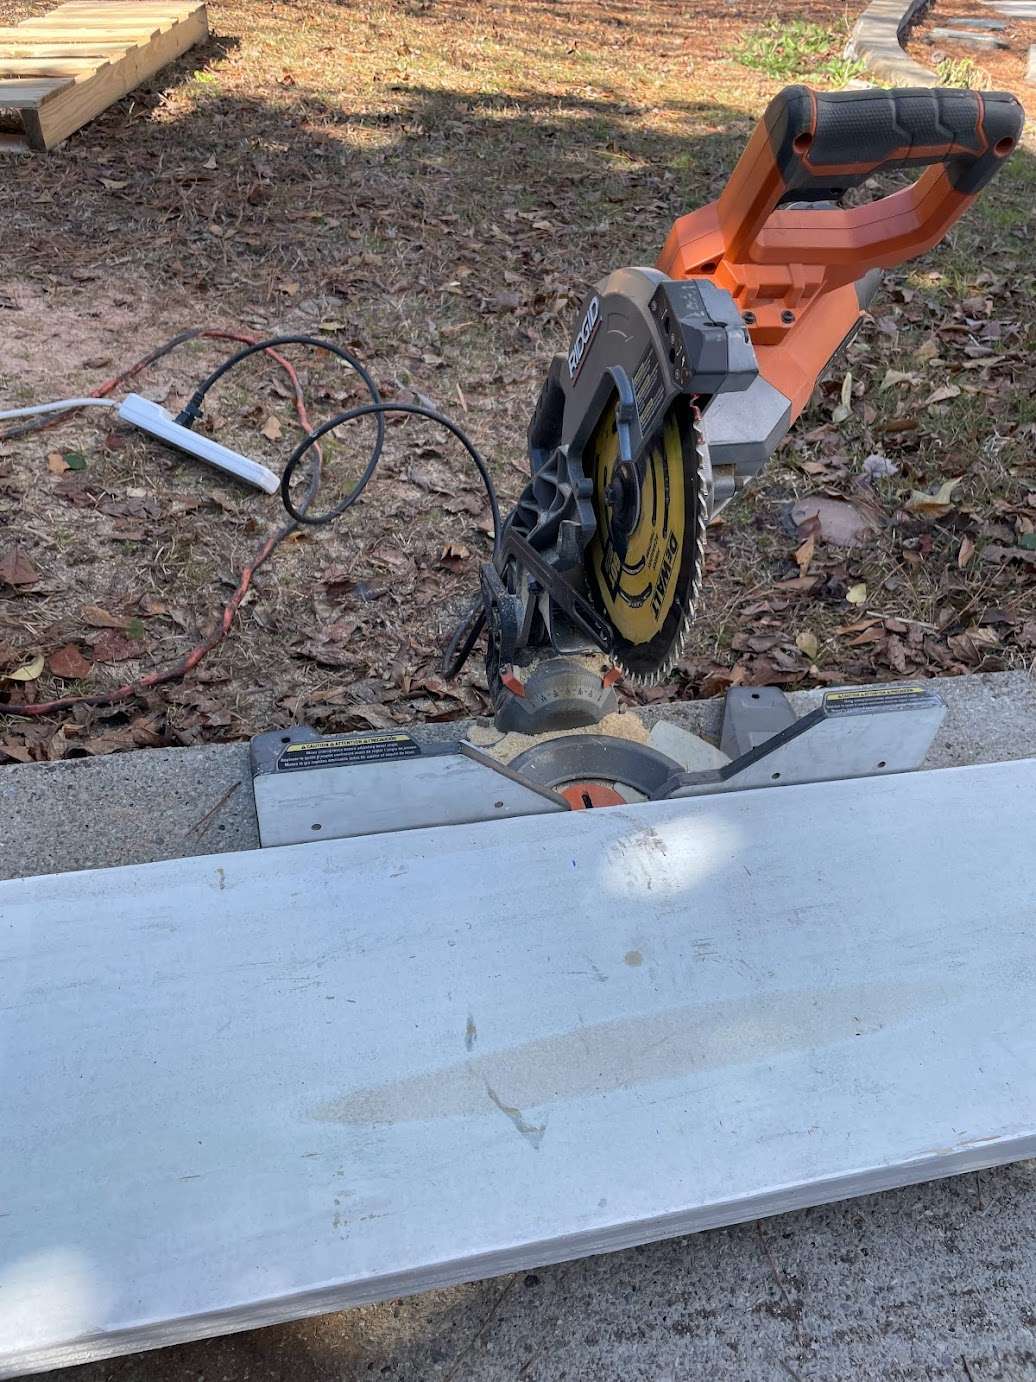
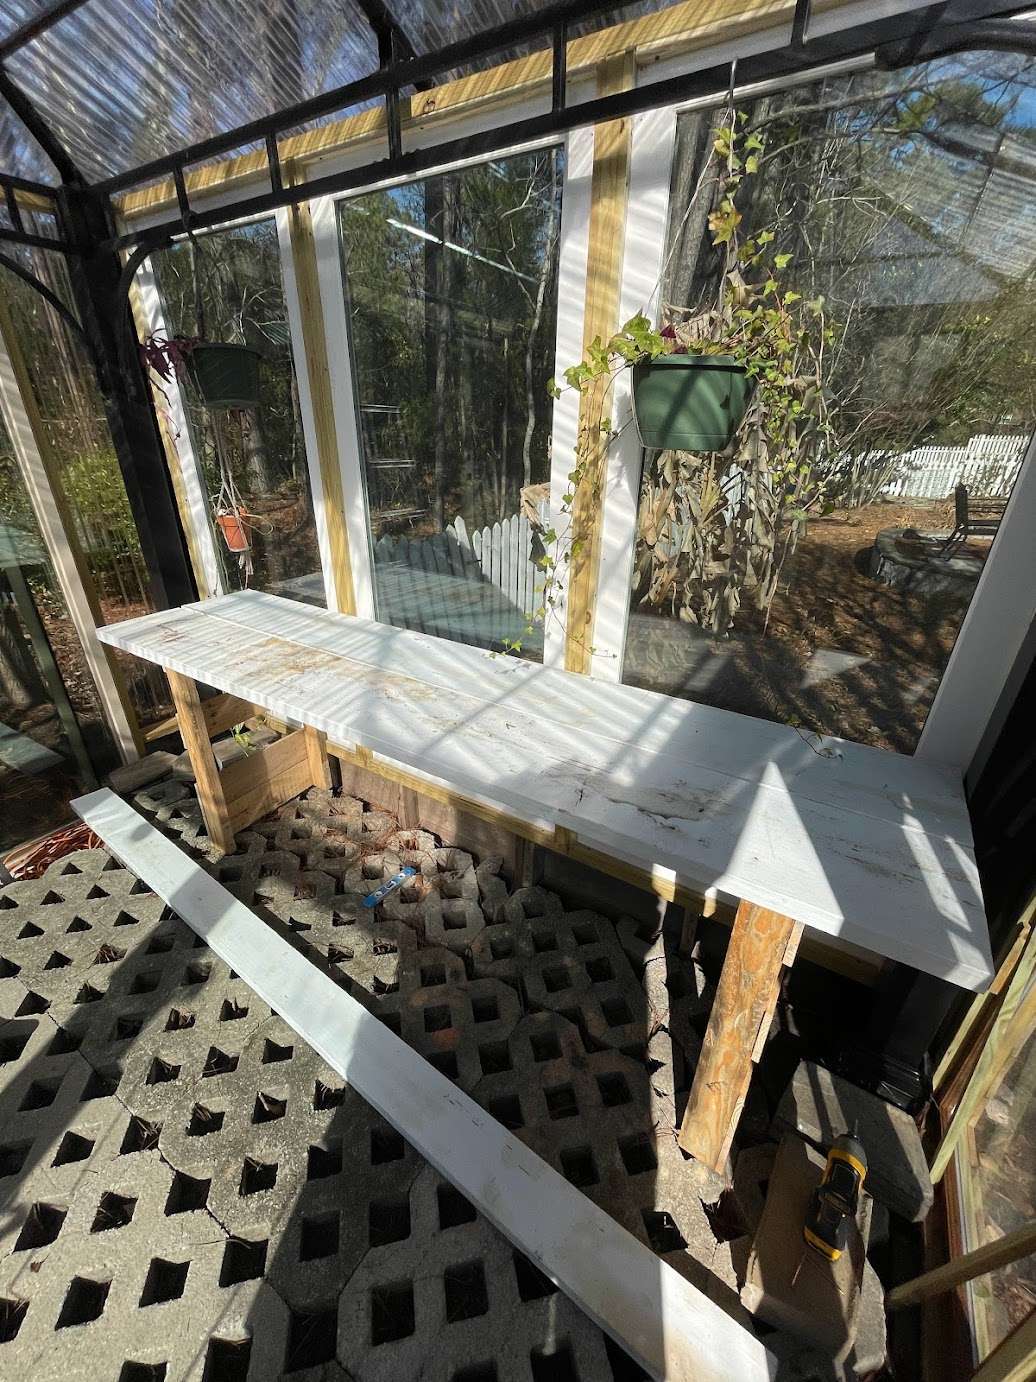
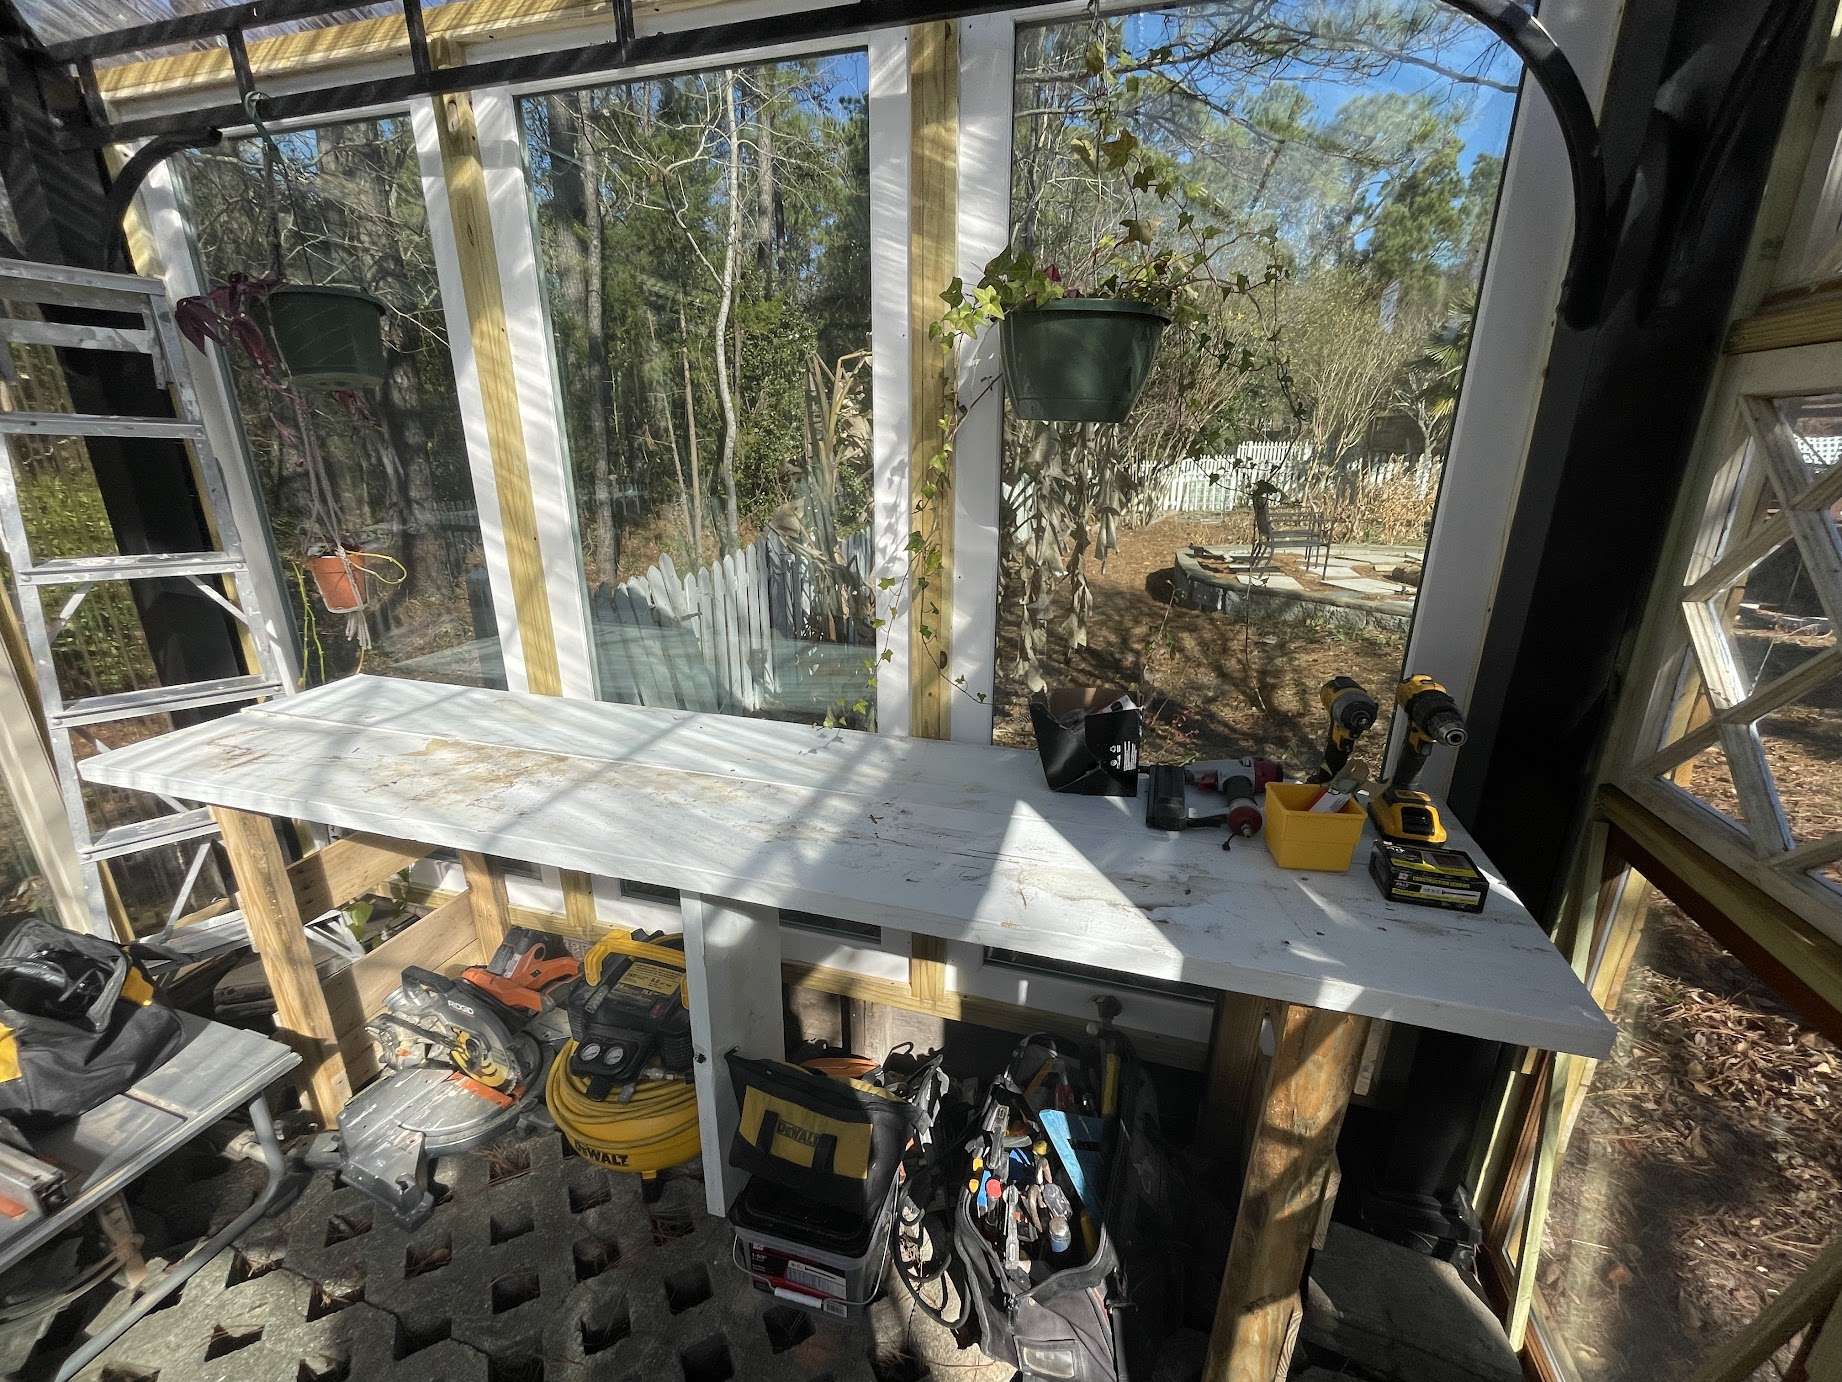
I Installed the cut pallet shelf stands in the greenhouse by screwing them into the greenhouse walls. Did a little modification to provide more support for the shelves by adding a 2″x4″ to the shelf stands where the shelf top boards would sit. Then I cut the 2″x12″x10′ recycled boards for the shelves down to 8′ in length in order to fit the space we have available. I ran into a similar issue with the cuts, except this time it was with my chop saw instead of the circular saw. My 10″ chop saw blade will cut to a depth of about 5 1/4″, which is not enough to completely cut through the 2″x12″ boards. Not a big issue, but I had to flip the board over and cut from the other side. The shelf is coming along well now, placed the boards on the stands to make sure everything was going to work right!
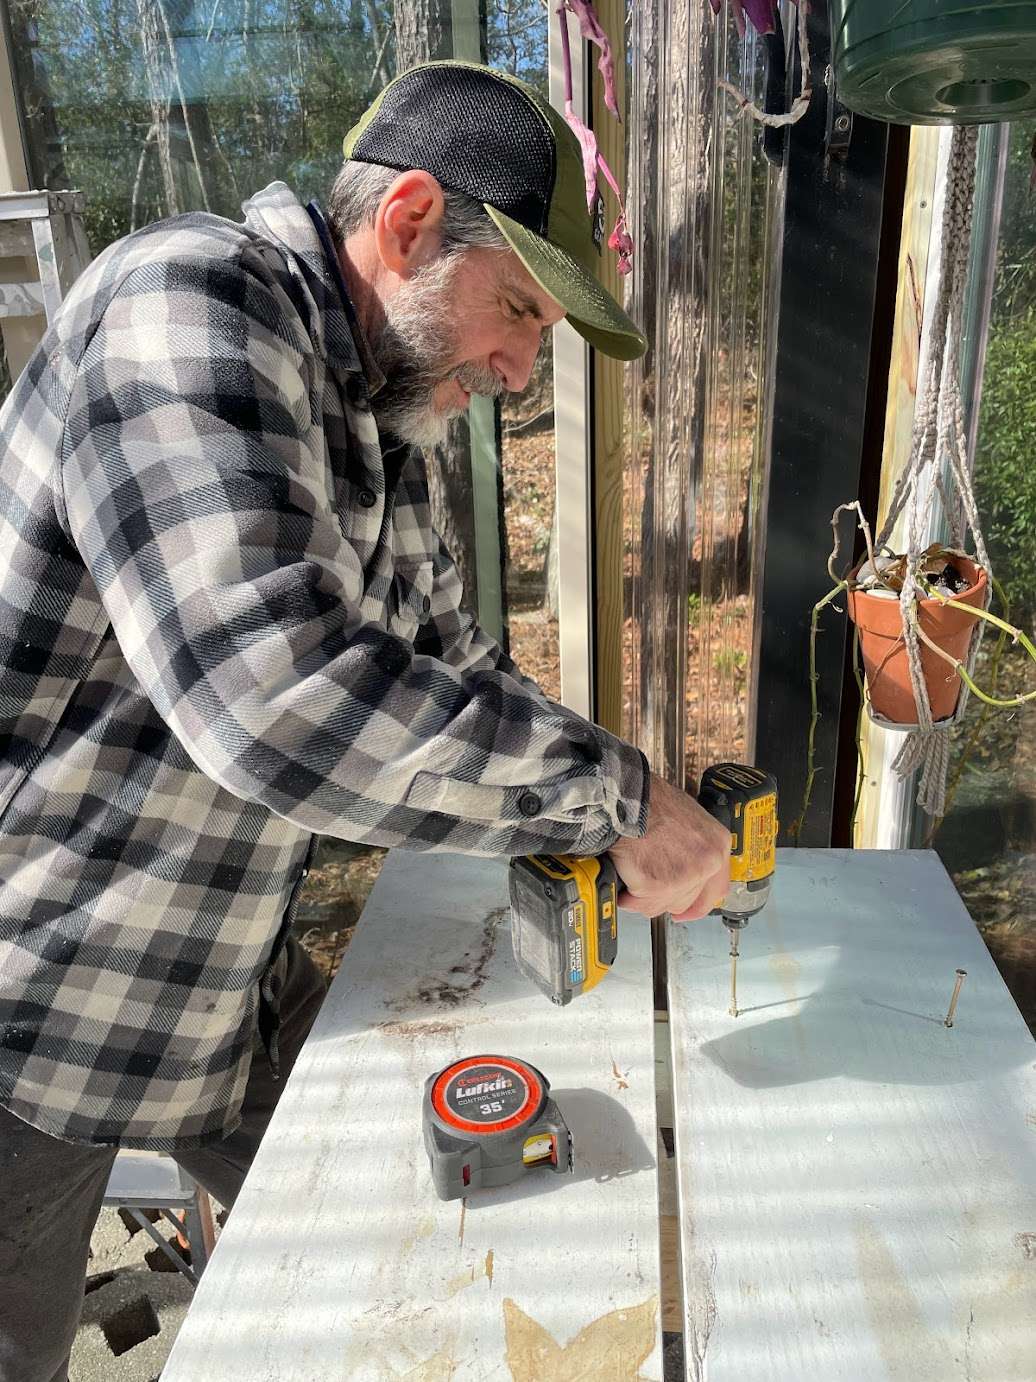
The shelf stands are in place and all the recycled materials are cut! Installing screws to hold the shelf tops and finishing things up. The project is completed for the day. In summary; utilizing recycled materials is not always easy, nor is it pretty in some cases, but it is much less expensive, fun to do, demands creativity, and is good for the environment. I believe this shelf is going to work great moving forward, and I really hope Mel likes it!
All of these videos can be watched directly on YouTube at:
https://youtu.be/E1VwLGcf4Hc?si=hTnM-jTzS_56wiCs
Hi James,
I just looked at your new story on the greenhouse Shelf!
That’s a lot of work and with everything you could find to make it. Way to go!
Dad